Create an Easy-to-Browse Sales Floor with Retail Display Tables
Have you ever felt that even with a display table, products are hard to see, the sales floor looks cramped, or you don't know what to put on it?
Retail display tables are not just for placing products. They are store fixtures that draw attention to new and recommended items, create height differences and depth on the sales floor, and arrange customer flow so that products are easy to pick up.
This article explains how to choose display tables from the perspectives of placement, size, height, material, and product arrangement. We also introduce apparel fixture arrangements combining mannequins, garment racks, and cash wrap counters, as well as how to differentiate between ready-made and custom fixtures.
View weone's Store Fixtures and Apparel Fixtures

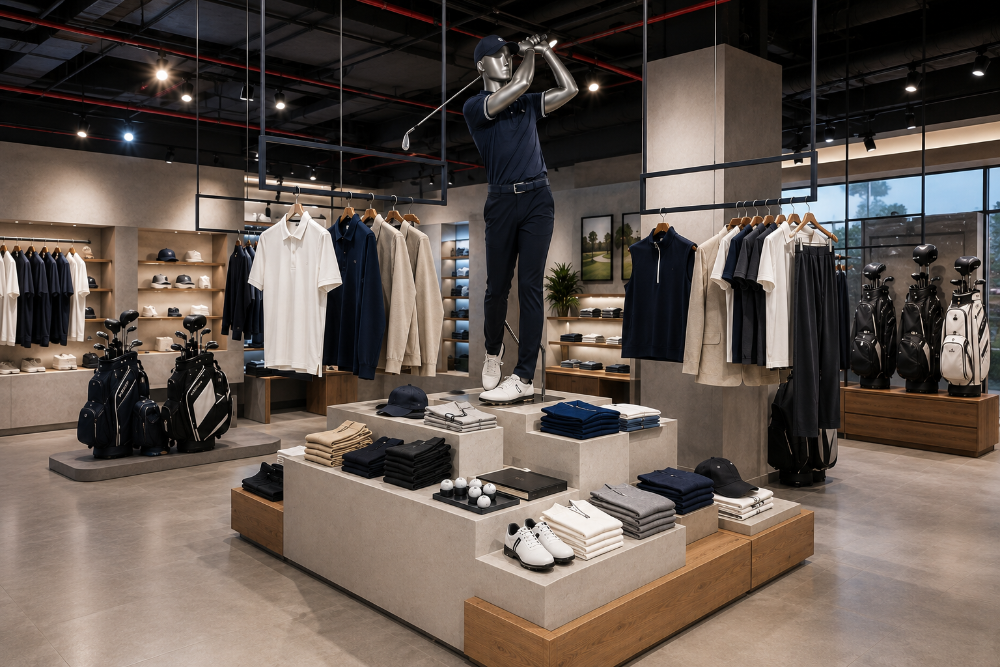
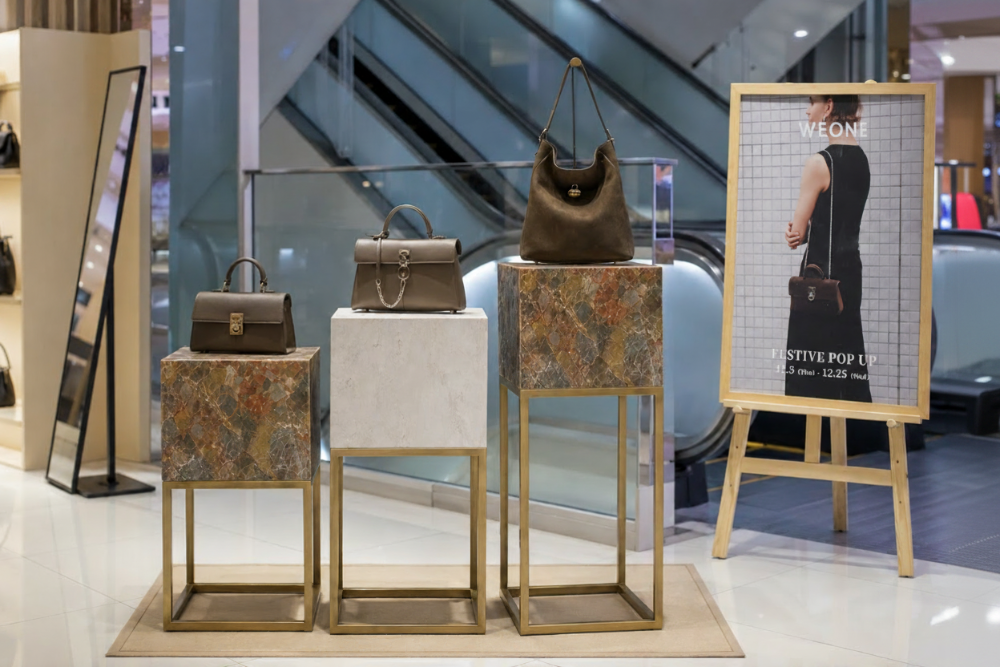
Combining display tables of different heights allows you to display bags and small items in a three-dimensional way.
1. What is a Retail Display Table?
A retail display table is a display stand used to arrange products at an easy-to-see height, clearly conveying the main focus or theme of the sales floor. Unlike typical work tables, they are used with consideration for product visibility, customer flow, and harmony with the store's interior design.
In apparel stores, they are suitable for displaying folded tops, bags, shoes, accessories, new collections, and more. When placed in the center of the store, they can serve as a focal point, and when placed near the entrance or cash register, they can be used to promote campaign items or small goods.
Key Point: The purpose of a display table is not merely to place items. It is crucial to decide "what to make the main focus" and "to which product to guide the customer's gaze next" before choosing the size and position.
2. 3 Benefits of Introducing Display Tables
Creates a focal point
Grouping new or key products in the center or at the entrance makes the sales floor's theme easier to understand.
Generates height and depth
Combining display stands of different heights adds rhythm to flat displays, making each product easier to perceive individually.
Suggests related products
Arranging tops, bags, shoes, and small items together to show them as a coordinated outfit can encourage additional purchases.
3. Store Entrance, Center, Wall, Cash Wrap | How to Use by Location
Store Entrance
This is where you place items you want customers to see first, such as new arrivals, limited-time offers, or seasonal themes. Position them at an angle that draws attention, ensuring enough aisle space so as not to block the entrance.
Store Center
This location allows products to be viewed from multiple directions, making it ideal for maximizing the effect of display tables. Combining tables of different heights creates a three-dimensional feel and encourages customer movement on the sales floor.
Wall
In smaller stores or sales areas where aisle width is a priority, placing compact display stands near wall fixtures allows you to showcase related products without occupying too much floor space.
Cash Wrap
Ideal for displaying items that customers might add to their purchase, such as accessories, care products, or small bags. Choose a height and depth that does not obstruct customer flow while waiting to check out.
4. Display Table Arrangement Methods to Make Products Easy to See
Placing many items doesn't necessarily make a sales floor look well-stocked. By assigning roles to main products, related products, and accent products, and arranging them with some empty space, each item becomes easier to perceive.
Products suitable for display tables
- Folded tops, knits, pants
- Bags, wallets, pouches
- Shoes, hats, accessories
- New arrivals, seasonal items, limited-edition products
- Related products to coordinates worn by mannequins
Instead of lining up products at the same height, vary the height of the stands, product risers, and folding methods to create visual flow. Keeping the number of colors limited and ensuring space between products makes it easier to present store fixtures stylishly.
5. Select a circle in the image to see 3 store display fixtures
Click on the circles in the image to view the names, prices, and uses of the Sports Fit Mannequin, White W400 Cube Stage, and Black W600 Cube Stage on the right.

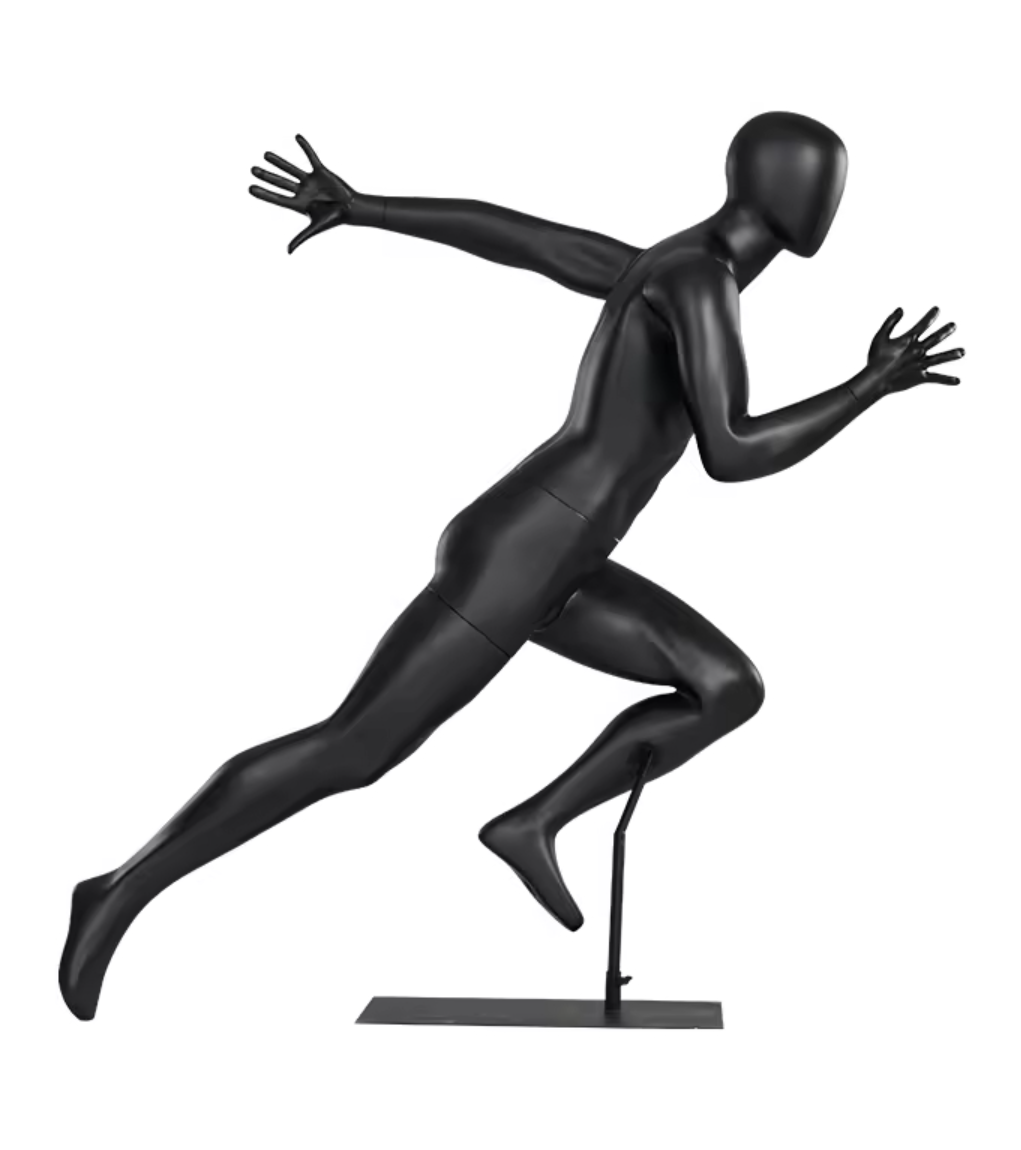
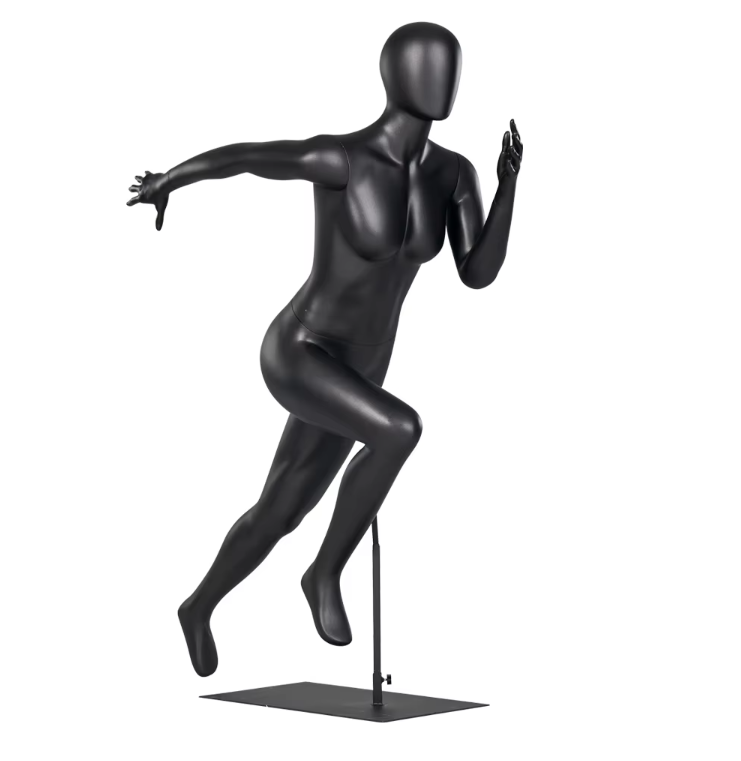
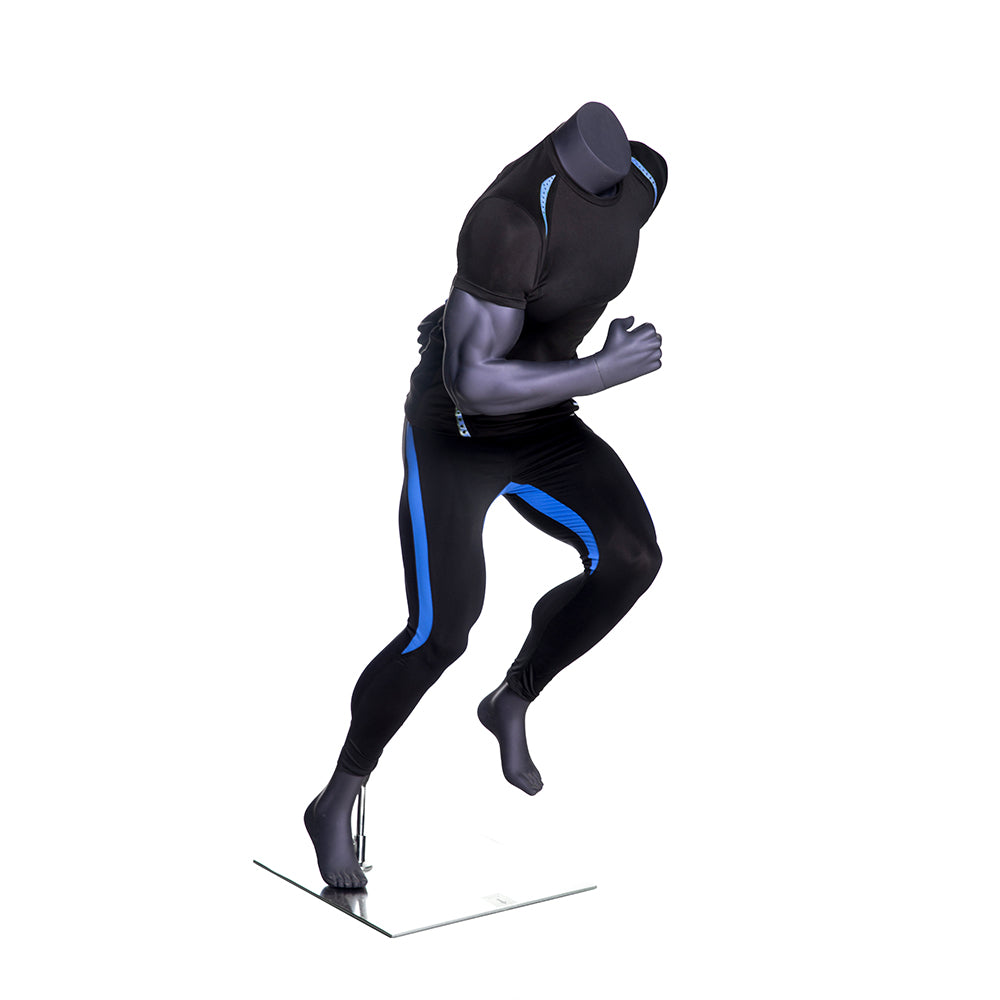
Sports Fit Mannequin 24134
¥142,000
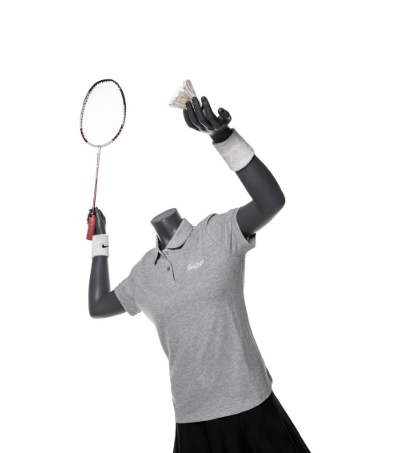
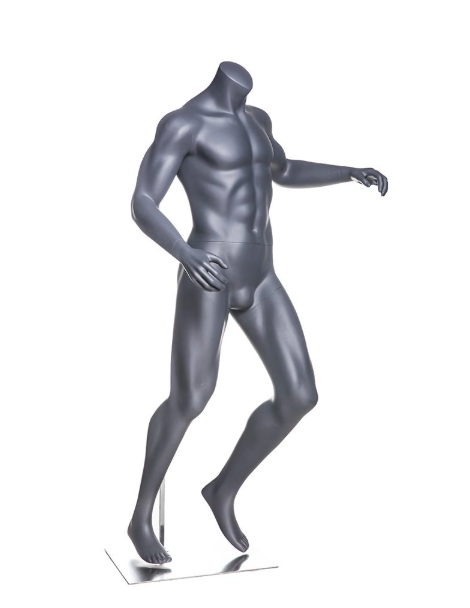
This sports fit mannequin displays sportswear silhouettes three-dimensionally, creating movement and a focal point on the sales floor. Ideal for main displays in apparel stores, sports shops, and show windows.
View Product DetailsWooden Display Cube Stage White (W400)
¥43,000
Features a bright, clean white finish and a W400 size that makes bags, shoes, and small items easy to display. Can be placed at the base of a mannequin or in the center of the store to create height and negative space for products.
View Product DetailsWooden Display Cube Stage Black (W600)
¥53,000
Features a space-defining black finish and a W600 size that allows multiple items to be displayed together easily. Combine bags, shoes, and apparel accessories to create a central display area for the sales floor.
View Product Details※Prices listed are based on provided information. Specifications, prices, and stock status may change. Please check each product page for the latest information.
6. How Size and Height Change Product Visibility
For display tables, not only width but also height is crucial. Lower stands are suitable for mannequin bases and shoe displays, medium heights are good for bags and folded apparel, and taller stands are effective for highlighting new arrivals or main products.
| Height Approach | Suitable Products | Main Role | Recommended Placement |
|---|---|---|---|
| Low | Shoes, bags, large accessories | Footwear presentation, creating height differences | Next to mannequins, in front of flat displays |
| Medium | Folded apparel, bags, general merchandise | Easy-to-access product display | Store center, against walls |
| High | New arrivals, limited editions, main products | Eye-catching, guiding gaze | Entrance, central display |
When placing in the center of the store, ensure enough width for customers to walk around even with products displayed. Continuously placing tall fixtures can obstruct visibility, so it's important to combine them with lower stands to create an open feel.
7. Wood, Black, Stone-like | Materials and Colors that Suit Your Store
Wood/Wood-tone
Adds warmth to the sales floor and pairs well with natural apparel, bags, and household goods. Matching the wood grain and color with flooring and shelving creates a cohesive look throughout the store.
Black
Creates a modern and luxurious feel, and makes brightly colored products stand out. Using too many black fixtures can make the space feel heavy, so it's recommended to combine them with white or wooden display stands and sufficient lighting.
Stone-like
Creates a modern and calm impression, making it easy to elegantly display bags, shoes, and accessories. It also blends well with metal frames, glass, and mortar-style interiors.
8. Combining with Mannequins, Garment Racks, and Cash Wrap Counters
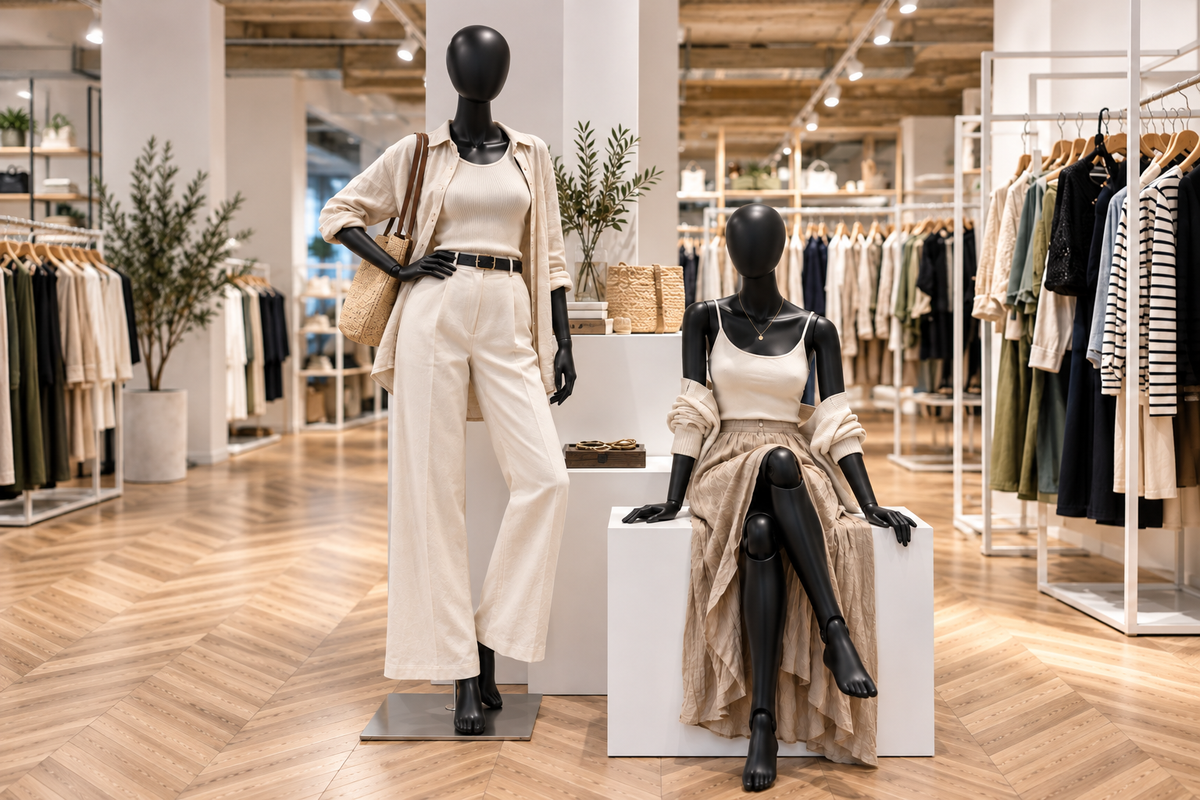
In apparel stores, by using mannequins as a focal point, placing display tables in front or to the side, and garment racks behind them, you can create a natural flow from coordinated outfits to actual products.
- Mannequins: Convey full-body coordinates and sales floor themes
- Display tables: Display bags, shoes, and small items three-dimensionally
- Garment racks: Arrange different colors, sizes, and related apparel
- Cash wrap counters: Match the sales floor's materials and colors to unify the entire store
View Store Display Mannequins
View Store Garment Racks
View Store Cash Wrap Counters and Registers
9. 5 Mistakes to Avoid with Display Tables
1. Overcrowding products
Products overlapping makes it hard to distinguish the main item. Limit the number of products and leave some empty space.
2. Making everything the same height
The sales floor will look flat. Use stands of different heights or small risers to create rhythm in the visual flow.
3. Narrowing aisles
Even if products are appealing, a cramped sales floor makes them hard to pick up. Always check aisle width after arrangement.
4. Mixing unrelated products
Group products that can be understood as a coordinated outfit by aligning them by theme, color, or usage scenario.
5. Interior decor and fixtures don't match
Check the colors and materials of the floor, walls, shelves, and cash wrap counters, and ensure common elements throughout the sales floor.
10. Choosing Between Ready-Made, Custom, and Fabricated Fixtures
If there's a ready-made product that suits the installation location and display items, it allows for quicker sales floor setup and easier relocation or layout changes in the future. On the other hand, for situations requiring alignment with columns or walls, specific sizes, or brand colors, custom fixtures or fabrication become viable options.
Information to prepare before consulting a fixture manufacturer:
- Width, height, and depth of the installation location
- Type, dimensions, weight, and quantity of items to be displayed
- Desired material, color, and finish
- Delivery route and assembly/installation conditions
- Required quantity, desired delivery date, and budget estimate
When comparing fixture manufacturers, beyond price, also check the scope of services including size changes, material proposals, drawing confirmation, delivery, assembly, and installation.
11. Frequently Asked Questions about Retail Display Tables
Q. What items are effective to place on a display table?
New arrivals, seasonal items, bags, shoes, folded apparel, and accessories are recommended. Grouping related items around a single theme makes coordinated outfits easier to understand.
Q. When placing a display table in the center of the store, what size should I choose?
Choose a size that ensures enough aisle space around the table even with products displayed. Compare placing one large table with combining multiple compact tables, based on the sales floor's size.
Q. Can I use tables of different heights together?
Yes. Combining different heights creates a sense of priority and depth for products. Placing the most important items at a higher position and related items at a lower position makes the display easier to understand.
Q. How should I choose between wood, black, or stone-like materials?
Choose based on the store's interior design, floor, walls, shelves, and cash wrap counter's colors and materials. If you want to make products stand out, also consider the brightness difference and color contrast with the products.
Q. Can display tables be custom-made to order?
Availability depends on the product and specifications. Organize your desired dimensions, display item weight, material, quantity, delivery date, and delivery conditions, then consult a fixture manufacturer.
Q. Can they be used with mannequins and garment racks?
Yes. Placing tables at the base or next to mannequins to display bags and shoes allows for clear presentation of full-body coordinates. Placing garment racks behind them can guide customers to different colors or sizes of the same product.
12. Summary | Transform Your Sales Floor with Display Tables for Better Product Communication
Retail display tables are not just for placing products; they are store fixtures that create a focal point, height differences, depth, and flow on the sales floor.
By organizing the installation location, display products, required height, material, and color, and arranging them with distinct roles for mannequins and garment racks, you can create a sales floor that is easy to see and browse.
If ready-made products cannot meet your specific dimensions or finishes, consider custom fixtures or fabrication, and communicate your installation requirements and desired delivery date to the fixture manufacturer early.
Consult weone for store fixture solutions
We offer fixtures tailored to your store's needs, including display tables, cube stages, mannequins, garment racks, and cash wrap counters. Please also consult us for size modifications and custom fixtures.